Remove Apple Music DRM protection; Convert Apple Music to MP3, M4A,etc.

Download Spotify Music without premium; Convert Spotify Music to MP3.

Download Music from Tidal to your Computer; Convert Tidal Music to to MP3, M4A,etc.

Download Amazon Music Prime/Unlimited/HD; Convert Amazon Music to MP3.
Capture/Record Computer Screen with Sound on Mac and Windows
By Sarah ConnorUpdated on November 19, 2018
- Summary:
Whether you’re using a Mac, or a Windows PC, this article will explain how to record your computer screen with sound effortlessly.
“Everyone comes in here. Two days ago, I tried a successful screen recording software which supported me to record computer screen activity but no sound. Now I need to record the gameplay and share it with my friends. Is there a solution to capture screen activity with sound on my Mac? “
There are many advantages to creating a screen video. Maybe you’re a professional who wants to capture your screen activity for a presentation for work. Maybe you are a lecturer who needs to make a video tutorial. Maybe you are a gamer who plans to record gameplay to share with friends. Maybe you need to download YouTube videos to a computer as YouTube won’t give you a way to watch YouTube streaming videos offline without WiFi or 4G.

Cannot record screen on a computer with sound? Whether you have a PC or Mac, you can use Screen Recorder software which is a green software for capturing any screen activities with audio on Mac and Windows PC. The recorded videos are saved as .mp4 /.wmv/.mov. avi. /.gif/.ts files for easily playback and sharing. The screen recorder is not only used to record video, but also can record various online streaming music (Record Apple Music in MP3), broadcast, audio calls, etc. in MP3 / WMA / AAC / M4A format. In addition, it is easy for you to take screenshot with hotkeys. Download the program first and try to record computer screen on your computer with sound.
Supported OS: Windows 10/8.1/8/7/Vista; Mac OS X 10.10 (Yosemite)/10.9 (Mavericks)/10.8(Mountain Lion)/10.7/10.6.
How to Record Computer Screen with Sound on Mac and Windows
Step 1. Install and Run Screen Recorder
After installing and running the Screen Recorder software on your computer, you will see a simple and easy to use interface. You are provided with three features: Video Recorder, Audio Recorder, Snapshot. After registering, select Video Recorder and turn on the screen recording tour.

Step 2. Adjust Recording Area
Here you can freely adjust the recording area. Click the “V” button and you are allowed to directly select the “Full Screen” button or “Custom” to manually specify the recording area.

Step 3. Select Recording Inputs
To record your computer screen with sound, you need to check System Sound to enable recording. Also, if you don’t need to record your narration, you can turn off the Microphone.

Step 4. Choose Output Folder
Choosing a familiar output folder allows you to quickly find the recorded video. To do this: go to “More Settings” > “Output” and select a folder where the recorded video will be automatically saved. As you can see, you can also change the output file format.

Step 5. Start Screen Recording
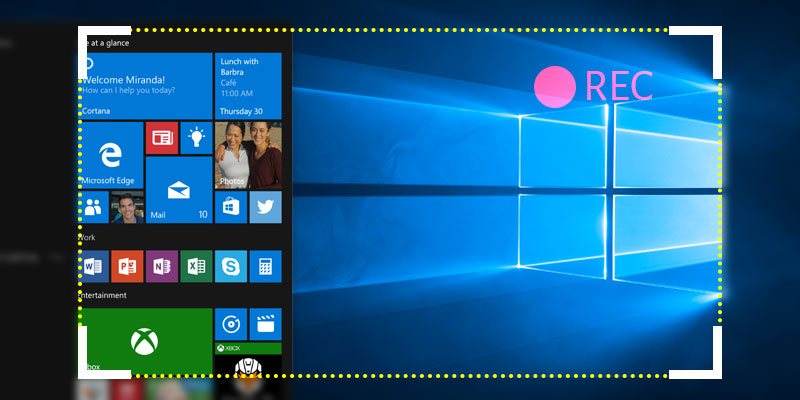
Once all settings have been completed, simply click the “REC” button to start capturing the computer desktop screen. The record will start automatically after 3 seconds countdown. Don’t forget to click “Save” in the lower right corner to save the recorded video file.

Related Article
- How to Record Online Meetings with High Quality
- How to Record YouTube Videos on Mac and Windows
- How to Record Streaming Video from iTunes on Mac
- How to Capture any activity on Mac or Windows computer
- How to Rip DRM Protected iTunes Rental or Purchased Video
- How to Record Spotify Music as MP3 via Screen Recorder
Comments
Prompt: you need to log in before you can comment.
No account yet. Please click here to register.


No comment yet. Say something...